Step-by-Step Guide: Managing a Project with Git and GitHub
Introduction :
Managing a Project with Git and GitHub We will look at Git with GitHub and cover a clean, organized way to structure a development project’s management. This includes creating secure access via SSH, setting up branches, and proper workflow that provides a comprehensive guide for a team to work together effectively.
Managing a Project with Git and GitHub Objective :
Establish security for GitHub SSH access
Branching Work: Use main, develop, feature, and release branches.
Use the git merge, tag, and delete branch commands to maintain a clean state of the project.
Managing a Project with Git and GitHub 2024 Prerequisites :
Managing a Project with Git and GitHub 2024 Before starting, make sure you have the following:
Environment Requirements:
Local Server: A Linux environment (e.g., Oracle Linux on VMware).
Git: Git should be installed locally.
GitHub Account: A GitHub account to create your repository.
Network Access: Ensure network access to GitHub and proper SSH configuration for secure communication.
SSH Key Setup (for Authentication):
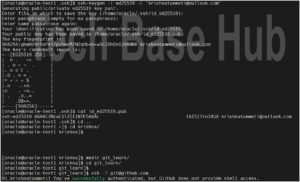
Generate a new SSH key pair to use with GitHub (if you haven’t already):
ssh-keygen -t ed25519 -C "krishnatummeti@outlook.com"
Add your SSH key to the GitHub account:
Open the public key (~/.ssh/id_ed25519.pub) and copy its contents.
Go to GitHub Settings > SSH and GPG keys and add the new SSH key.
Test the connection to GitHub:
ssh -T git@github.com
If successful, you should see:
Hi krishnatummeti! You’ve successfully authenticated, but GitHub does not provide shell access.

ALSO READ :
- Automating Linux monitor memory usage script
- How to install Linux Server Monitoring tool Nagios XI and NCPA
- How to Automating User Switch in Shell Scripts with Nopasswd Sudoers
Create a GitHub Repository:
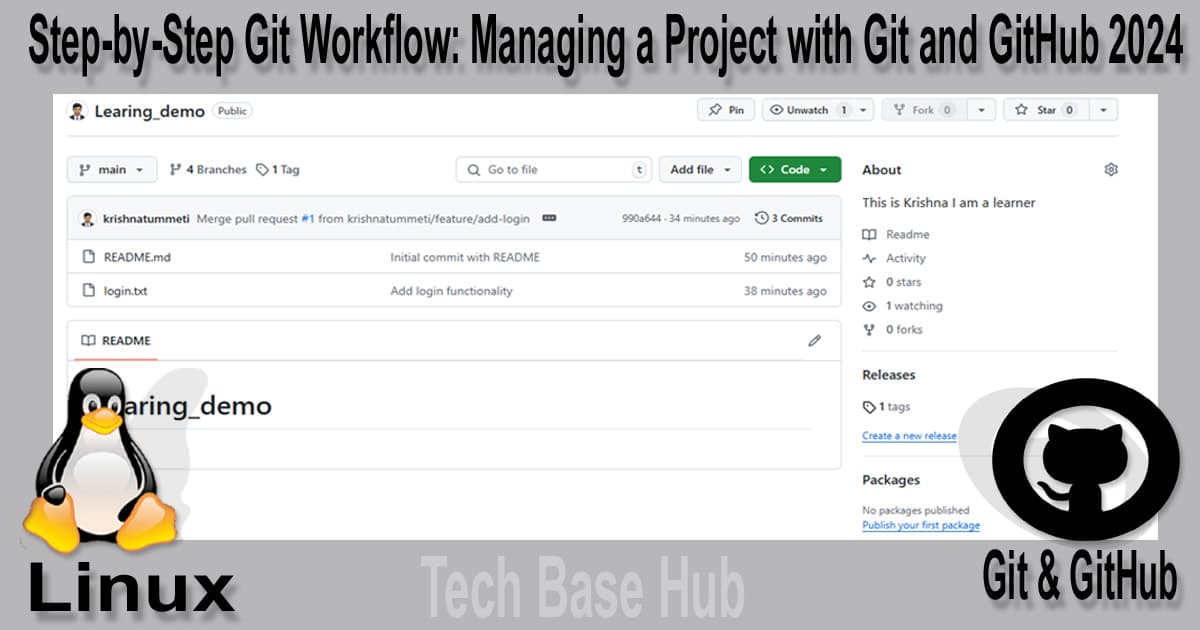
Create a new repository on GitHub named Learing_demo.
Copy the SSH URL for the repository, e.g., git@github.com:krishnatummeti/Learing_demo.git.
Create Project Directory:
mkdir -p /home/oracle/krishna/git_learn
cd /home/oracle/krishna/git_learn
Initialize Git Repository:
git init
This will initialize an empty Git repository in your directory, creating a .git folder for version control.
Create a README File and Commit
Create a README file:
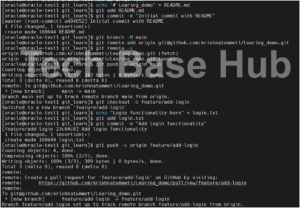
echo "# Learing_demo" > README.md
Add and Commit the README:
git add README.md
git commit -m "Initial commit with README"
git branch -M main
This step creates a clear starting point for your project, documenting its name and purpose.
Set Up the Remote Repository
Set the Remote Repository:
Link your local Git repository to the GitHub repository using the following command:
git remote add origin git@github.com:krishnatummeti/Learing_demo.git
git remote -v
Push the main Branch to GitHub:
git push -u origin main
This uploads your initial commit to GitHub.
Create and Work on a Feature Branch
Now that the repository is initialized, let’s work on a feature branch.
Create a New Feature Branch:
git checkout -b feature/add-login
This creates and switches to the new feature/add-login branch, where we will add the new functionality.
Add New Files or Edit Existing Ones: For example, create a new file to simulate adding login functionality:
echo "Login functionality here" > login.txt
Stage and Commit Changes:
git add login.txt
git commit -m "Add login functionality"
Push Feature Branch to GitHub
Push the Feature Branch:
git push -u origin feature/add-login
This pushes the new feature branch to GitHub, where it can be reviewed.

Merge Feature Branch into Develop Branch
Switch to develop Branch:
git checkout -b develop
Pull Latest Changes from Remote:
git pull origin develop
Merge Feature Branch into develop:
git merge feature/add-login
Push the Merged develop Branch to GitHub:
git push origin develop
Create and Work on a Release Branch
Create a Release Branch:
git checkout -b release/v1.0
Finalize Changes for Release: Finalize any bug fixes or adjustments.
Push Release Branch to GitHub:
git push -u origin release/v1.0
Merge the Release Branch into main
Switch to the main Branch:
git checkout main
Pull Latest Changes:
git pull origin main
Merge Release Branch into main:
git merge release/v1.0
Push the Merged Main Branch:
git push origin main
Tag the Release
Tag the Version:
git tag -a v1.0 -m "Version 1.0 release"
Push the Tag to GitHub:
git push origin v1.0
This marks the version as a stable release.
Clean Up
Delete the Feature Branch Locally:
git branch -d feature/add-login
Delete the Feature Branch Remotely:
git push origin --delete feature/add-login
Managing a Project with Git and GitHub 2024 This ensures that only the necessary branches remain in the repository.

Link:
Managing a Project with Git and GitHub 2024
Conclusion:
Managing a Project with Git and GitHub 2024 This GitHub workflow covers all essential steps for creating, managing, and deploying a project with Git and GitHub. You’ve learned how to initialize a repository, create and merge branches, and tag releases, simulating a professional team environment. Managing a Project with Git and GitHub 2024 Using SSH for secure authentication and Git best practices, you’re now ready to confidently manage your projects.

